Spark AR I: Introducing Spark AR
Hi!
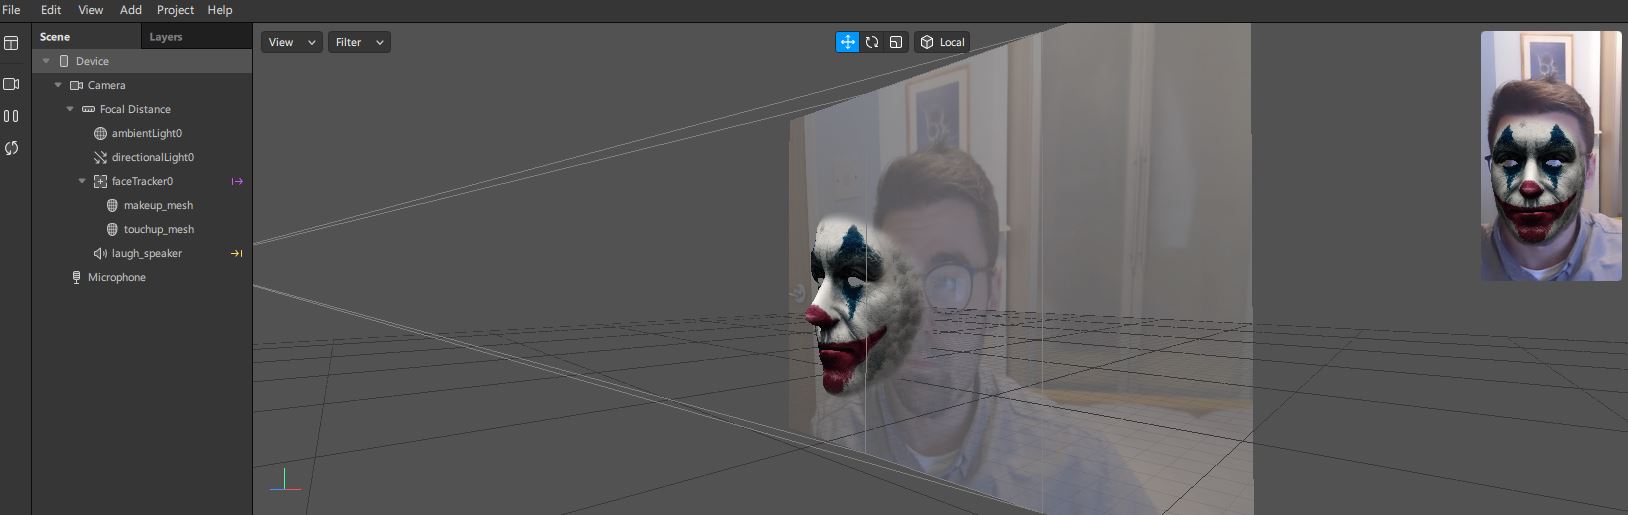
This post is the first in the Spark AR series, today we will walk through the user interface of the Spark AR tool and create a simple Joker mask filter from the new Joker film!
Contents
What is Spark AR?
Spark AR, AR standing for augmented reality, is a toolkit that was released by Facebook to be used for creating Facebook and Instagram camera filters. Spark AR is very easy to use whilst also packing a variety of features. It has support for block-based coding which makes it ideal for teaching beginners, but also has support for scripting using Javascript for more experienced users.
Spark AR Learning Resources
Facebook provides a plethora of learning resources for use with Spark AR. Head over to Sparks learning page for tutorials for absolute beginners all the way up to tutorials for experienced developers.
Facebook also has created a set of assets to ease the production of filters, including a 3D facemesh model for creating facial distortion filters, male and female textures to use as templates for designing your own textures and facemesh trackers for debugging. It also includes 2 ready to use assets, one to help with object occlusion, which will be covered in another post, and one faceMeshMask which we will use in this post. All these assets can be downloaded at this link.
Step-by-Step Joaquin’s Joker
1. Add facial tracker
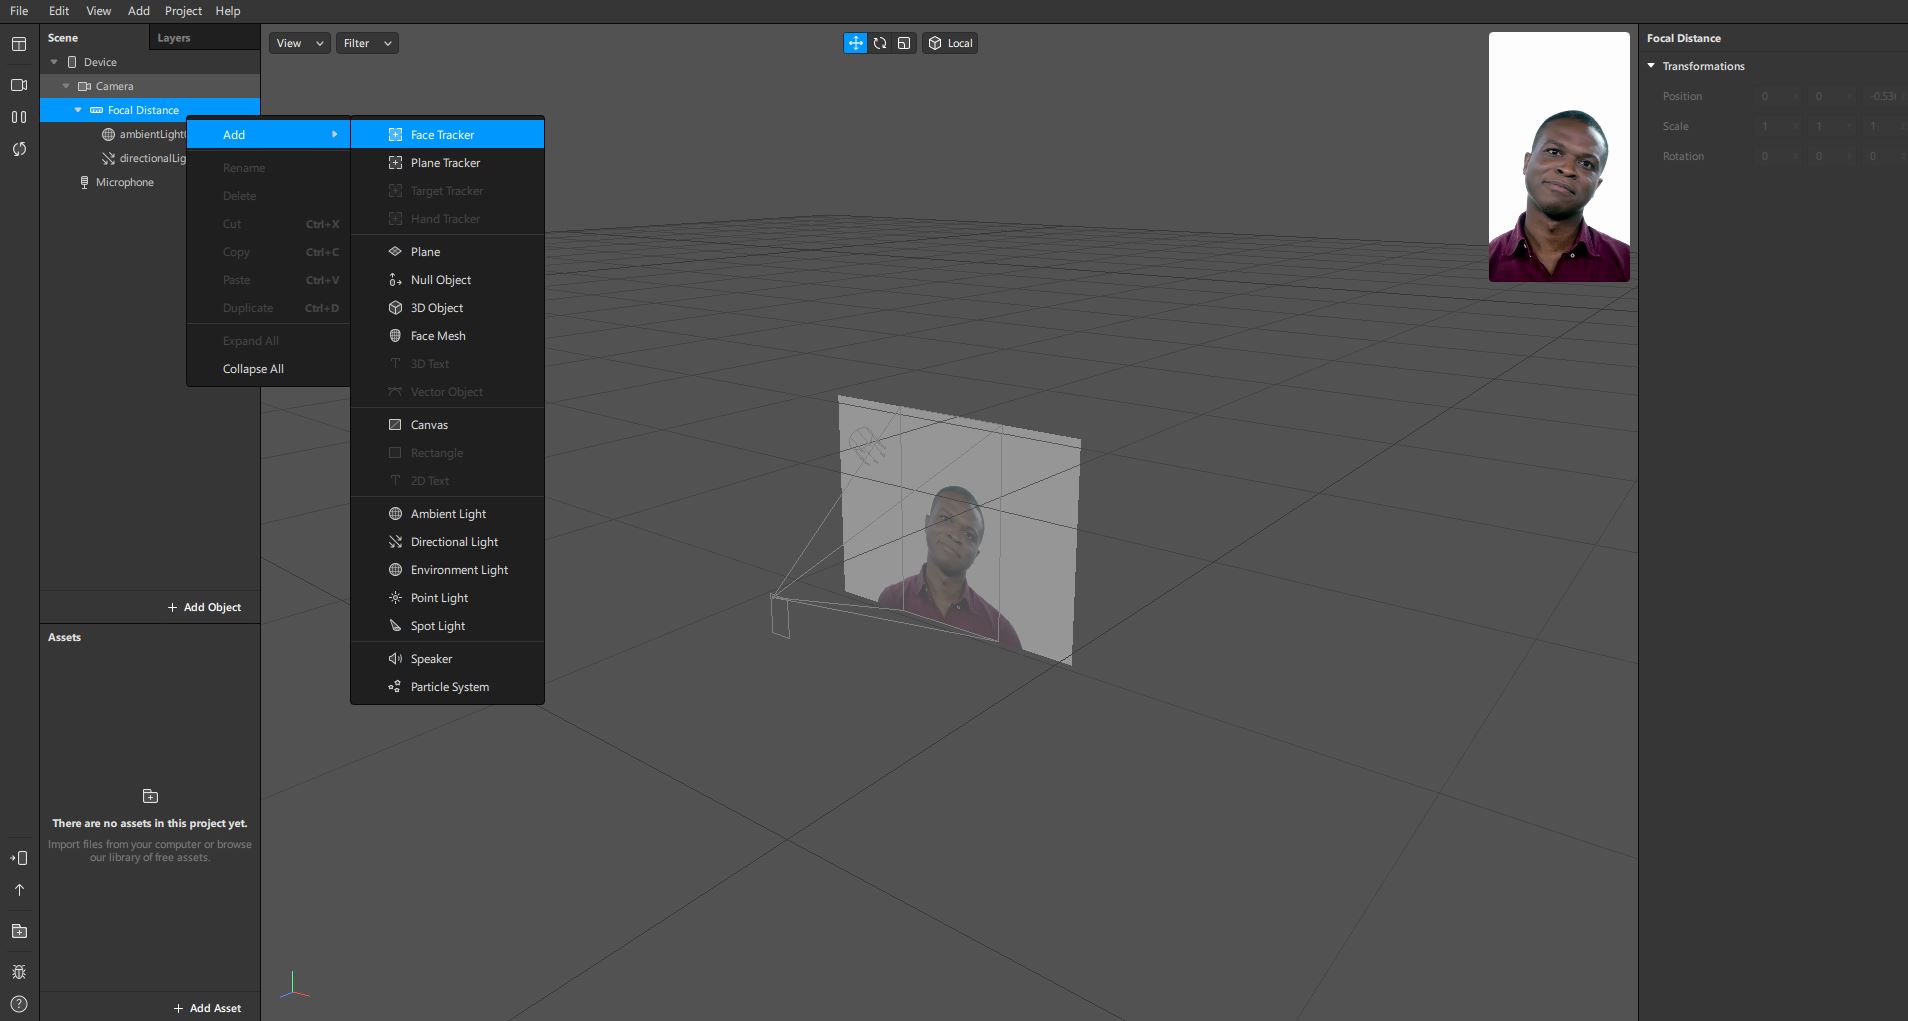
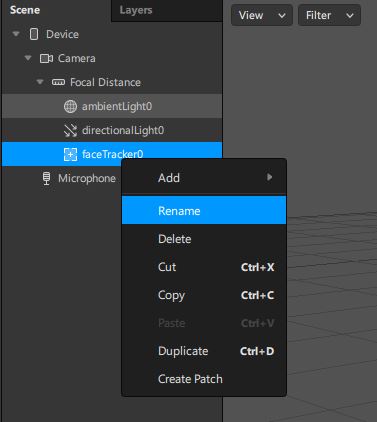
The first step to creating the Joaquin’s Joker filter is to add a facial tracker object to the scene. Right click the Focal Distance object within the scene pane and select Add > Face Tracker, a new Face Tracker named faceTracker0 should have been created - lets rename it maskTracker. Now we can bind objects to the tracked face. Any object that is added as a child of maskTracker within the scene will follow the movements of the face.
2. Add face mesh to facial tracker
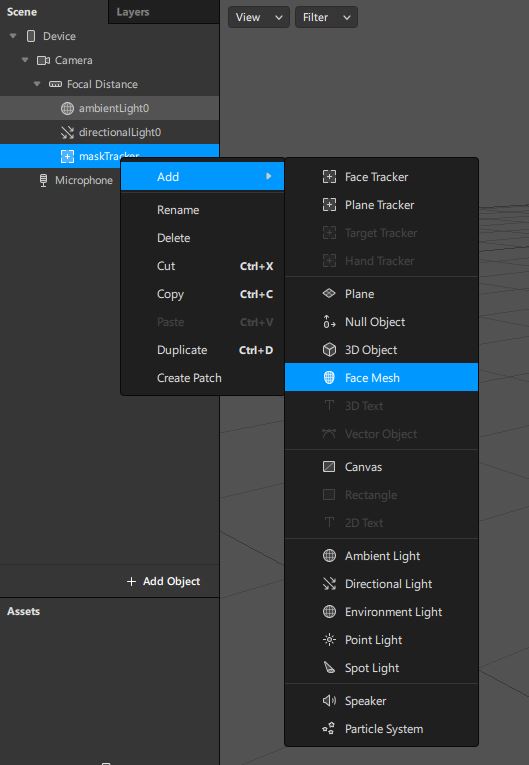
The next thing we will add is a Face Mesh. As mentioned previously if we add the face mesh as a child of the face tracker we just made then it will track the movement of the face within the scene. Right click the maskTracker object and go Add > Face Mesh, a new object named faceMesh0 will now be added as a child of the face tracker - lets rename it maskMesh.
3. Add material to face mesh
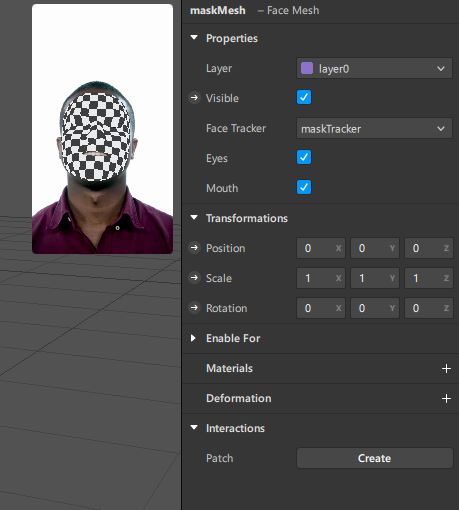
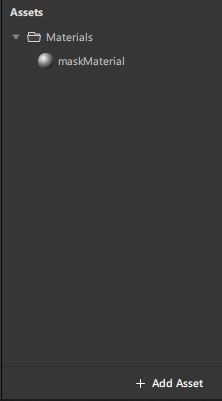
If we select the maskMesh object we will see a pane on the right hand side of the screen showing various properties of the mesh. We want to change the texture of our face mesh so that is is the same as Jokers! To do this we must add a material to the maskMesh object, press the small + next to the Materials property to automatically create a new material named material0 under the Assets section. Lets rename this material maskMaterial.
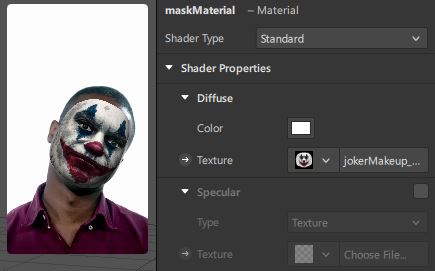
4. Add Joker facepaint texture to material
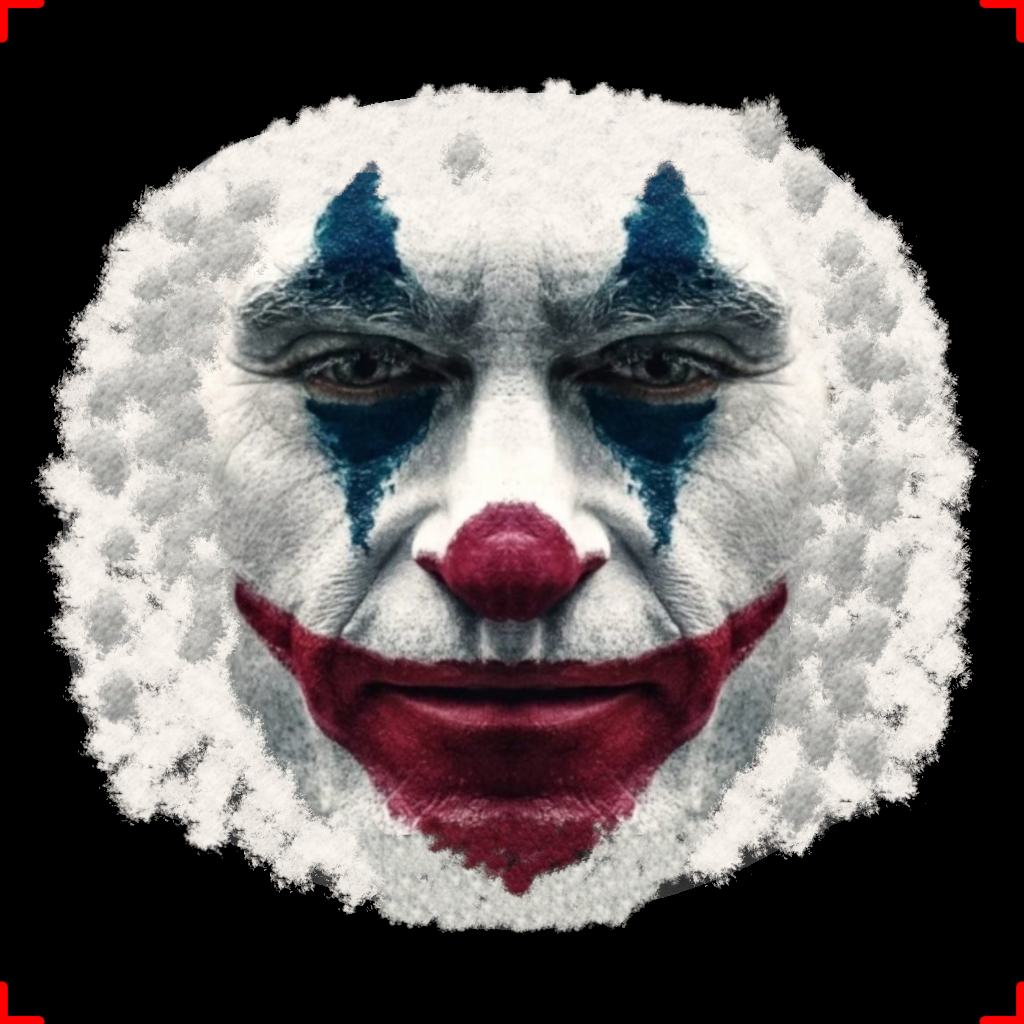
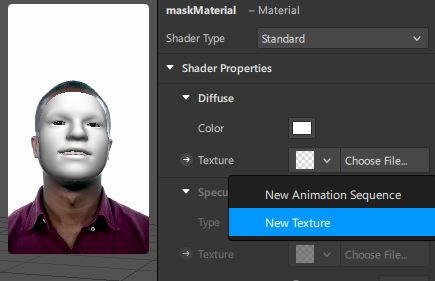
This material is not much better than when the maskMesh has no material at all, to fix this select the maskMaterial and then in the properties window look for the texture option. Here we want to add our Joaquin Phoenix Joker texture. Feel free to create your own in image editing software using the Spark AR assets provided by Facebook. Alternatively use the asset I created here. Once this texture is applied you should see a nice joker mask!
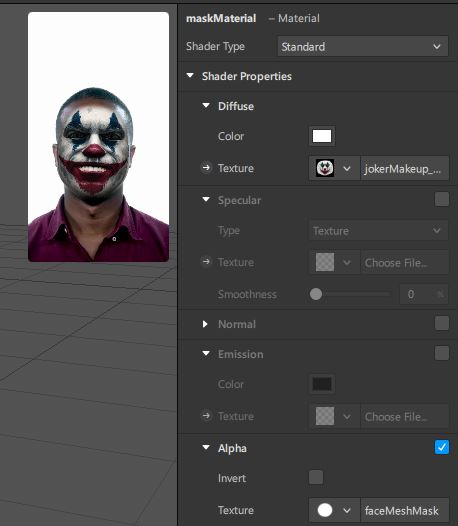
5. Add faceMeshMask to materials alpha
However we can take the mask one step further through the use of one of Facebooks Spark AR assets, namely the faceMeshMask. The faceMeshMask is a texture which we can apply to the alpha channel to smooth the edges of our mask to look more like facepaint. The faceMeshMask is a white disk that fades at the edges and the alpha channel is the transparency channel. By using this mask on the alpha channel the transparency will slowly increase towards the edge of our mask!
Thats all there is to it, simple right?
Conclusion
This post
This post we talked a little about what Spark AR is and how we can use it to make more complex effects by writing code, we linked some nice resources from Facebook for getting better at using Spark AR. Finally we went through a step by step guide of how I made the Joker mask filter that I showed on my YouTube channel.
Next Post
The next post will introduce using scripting using Javascript within Spark AR to make interactive effects that are more impressive!
Thanks for checking out the blog,
Max Sargent